Heavy Duty Ball Joint Press & U Joint Removal Tools 4 Wheel Drive
Adaptors 4 ...USD $63.99
Condition : New
Free Shipping
{{variant_type_name}} :

Notify me when the price drops
We will email you if we find a lower price on this product!
Product Description
Ball Joint Press & U Joint Removal Tool Kit
Heavy Duty Ball Joint Press & U Joint Removal Tool Kit is made of heavy-duty forged steel with black-oxide finish on adapters for maximum strength and longevity which resists rust and corrosion, perfect for professional machinists.
Fit most American domestic and imported 2-wheel drive (2WD) and 4-wheel drive (4WD) cars and light pickup trucks that have press-fit type ball joints.
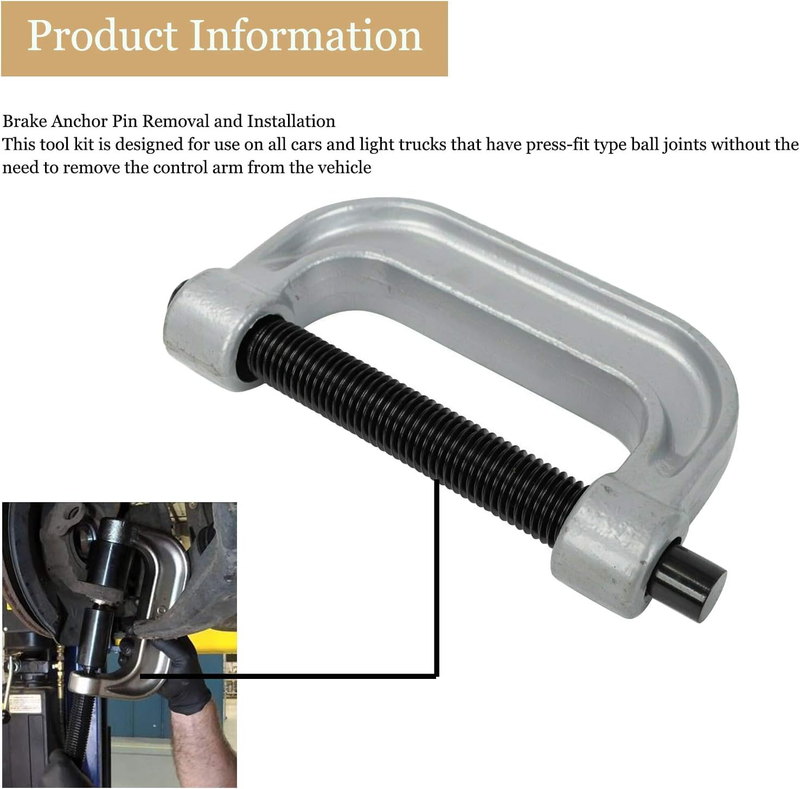
Remove&Install Brake Anchor Pins To remove the brake anchor pins, remove all lock ring retainers from the Brake Anchor Pins. Position the Ball Joint Press over the brake spider. Tighten the Jackscrew until the anchor pins can be removed. To install the brake anchor pins, insert the brake anchor pins. Then reinstall the lock ring retainers on the brake anchor pin. Unscrew and remove the Ball Joint Press.
Remove a Ball Joint
1.Assemble the Ball Joint Press over the vehicle's control arm. Select the correct size Receiving Tube, and position it under the vehicle's ball joint.
2.Place the Removal Adapter between the Receiving Tube and the Jackscrew.
3.Then, place the Installation Adapter between the top of the ball joint and the Ball Joint Press.
4.Tighten the Jackscrew until the Receiving Tube contacts the vehicle's control arm.
5.Check the alignment of all the Ball Joint Kit parts, and continue tightening the Jackscrew until the vehicle's ball joint is removed.
Install a Ball Joint Clean the vehicle's control arm, and coat the inside diameter of the control arm with a light lubricant. Insert the replacement ball joint as straight as possible into the vehicle's control arm. Assemble the Ball Joint Press over the vehicle's control arm. Select the correct size Receiving Tube and position it on top of the vehicle's control arm. Place the Installation Adapter between the Receiving Tube and the Ball Joint Press. Then, place the Removal Adapter between the ball joint and the Jackscrew. Check the alignment of all the Ball Joint Kit parts. Then, tighten the Jackscrew until the the vehicle's ball joint is removed.
Premium Quality
Material: Advanced carbon steel / PVC box
Size of Case
Size of Case: 36cm/14.2in × 27cm/10.6in × 7cm/2.8in
Include
Brake Anchor Pin Removal and Installation
4pc Ball Joint Service Kit with 4 Wheel Drive Adaptors
Returns Accepted for this item if it's within 30 Days
Price type
IN STOCK
OUT STOCK





 .
